How Roller Burnishing Tools Work on Flat Faces, Radii, and Contours
Roller burnishing tools use pressure to smooth and harden a metal surface through a cold-working process. The result is an improved surface finish, better dimensional accuracy, and increased wear resistance. Applying burnishing effectively across different part geometries depends on selecting the right tooling for the job and understanding your machine’s capabilities. This guide walks through the best approach for flat faces, radii, and contours.
Using Roller Burnishing Tools on Flat Faces
The right approach for flat face burnishing depends on the machine platform being used.
On a Lathe (Rotating Part)
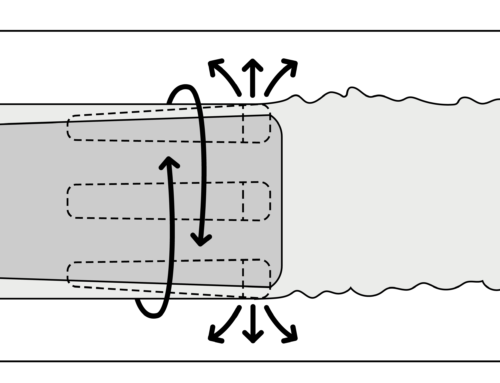
When a part is mounted in a lathe, the rotation of the workpiece facilitates the burnishing of the face. Depending on the application, we have the option to utilize single-point or multi-roll tools to achieve the desired outcome. The continuous rotation allows the single point to traverse the surface effectively.
However, one limitation to keep in mind: because the part rotates around a central axis, surface speed approaches zero near the center, meaning that the section cannot be burnished. Single-point face burnishing works best on a shoulder face with a radius, where the center portion is not critical to the part’s function or is already occupied by a shaft or bore.

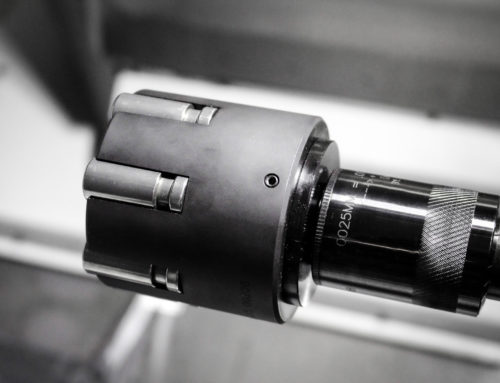
On a Mill (Stationary Part)
On a mill, the part is stationary, so the tool itself must provide the rotation. Therefore, a multi-roll tool is the right choice here. The rolling elements cold-work the surface as the tool rotates against the stationary face.
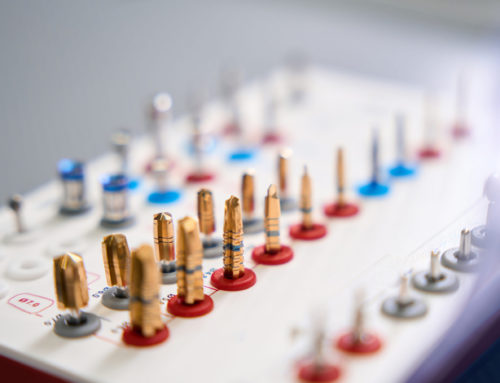
Multi-roll burnishing tools are versatile and can be used on a range of internal and external geometries, including:
- OD shaft
- ID holes and bores
- Counter sinks
- Angular or Flat Sealing surfaces

Using Roller Burnishing on Radii and Contours
Curved surfaces like radii and contours introduce some additional considerations, particularly around clearance.
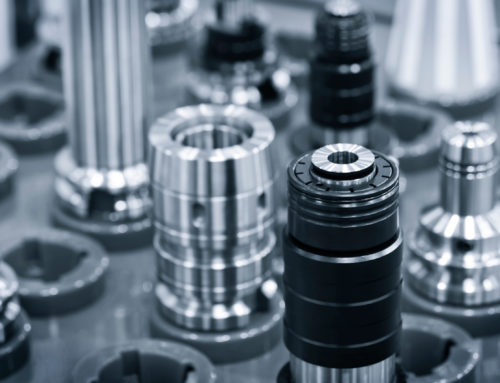
Tooling for Radii and Contours
Before burnishing any radius or contour, check for clearance between the tool and the surrounding part geometry. Many of these surfaces can be handled with a standard carbide roll, especially when the tool needs to bridge or accommodate a specific area of the part. Additionally, a “top hat” tool design offers profiles that can be matched to the component’s radius, providing uniform pressure and consistent cold working across the curve.
Tapered Surfaces and Sealing Areas
For angled surfaces such as tapers or chamfers, angle roller burnishing tools can be used. These tools align the roller’s axis to the tapered surface, ensuring effective pressure application and preventing skidding. They are particularly useful for reaching chamfers and critical sealing surfaces.
Sealing surfaces respond well to roller burnishing because the process extends service life and improves surface integrity. Although other finishing methods can achieve a smooth surface on tapers and seals, they often take much longer than the rapid cold-working process of roller burnishing tools. The high quality and speed of burnishing make it the superior choice for critical, high-wear applications.

Key Benefits and Final Considerations
Across flat faces, radii, and contours, roller burnishing tools remove the microscopic surface irregularities left behind by cutting operations, producing a measurably cleaner finish. Additionally, this process consolidates surface grains and introduces compressive residual stress, which improves resistance to fatigue and cracking. For components where surface quality and long-term durability are priorities, roller burnishing is a finishing option worth knowing well.