The Evolution Of The Tube Plug
There have been many variations of the tube plug over the years in an effort to achieve maximum sealing area and to control the method in which it is installed. While each of these plugs are still commonly used today, they were designed to overcome various challenges operators have had over the years.
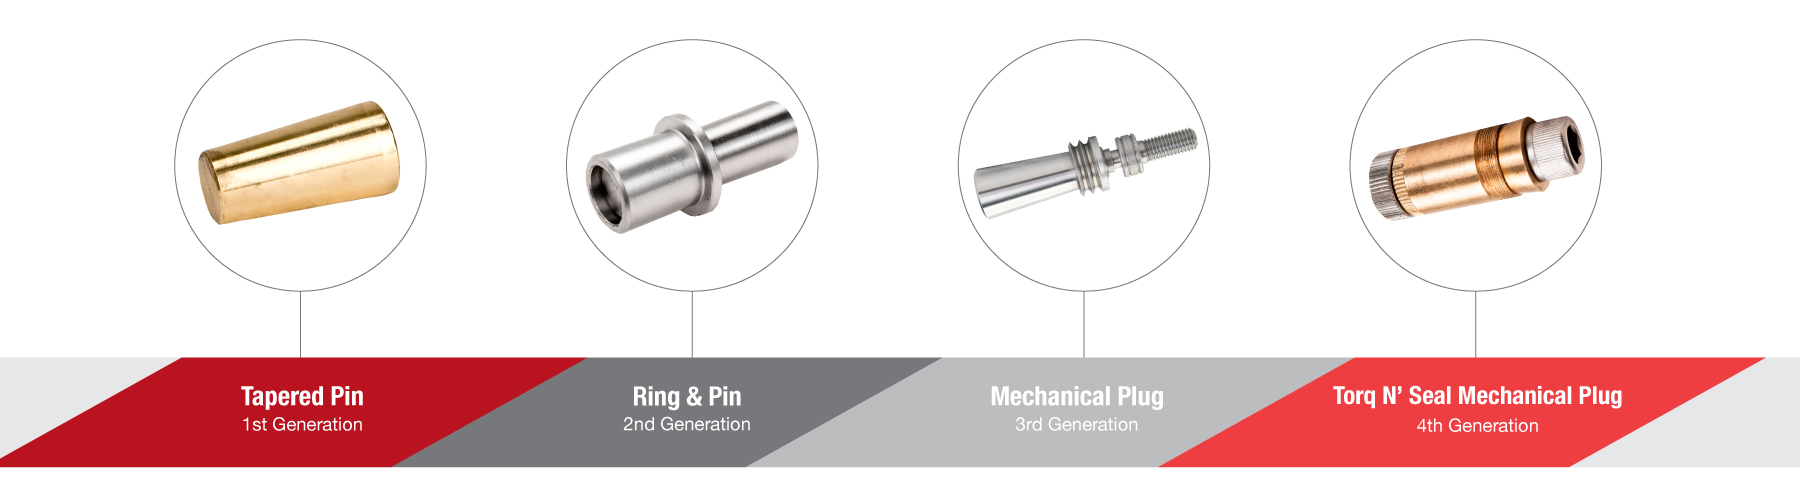
1st Generation:
Tapered Pin
One of the earliest tube plug designs was the tapered pin or one-piece tube plug. The tapered pin is installed by simply tapping the end of the plug into the tube with a hammer or mallet until metal to metal contact is made and then advancing it an additional 1/8”. Driving the plug all the way into the tube can cause stress on the joint and has the potential of causing damage to the ligament. If this occurs it can cause adjacent tubes to leak. Often times, operators will weld tapered plugs to the tube sheet in an attempt to prevent leaks or premature blow out. However, this practice is not recommended since the amount of heat produced while welding the tube plug can distort the tube sheet and create more leaks in the surrounding tubes.
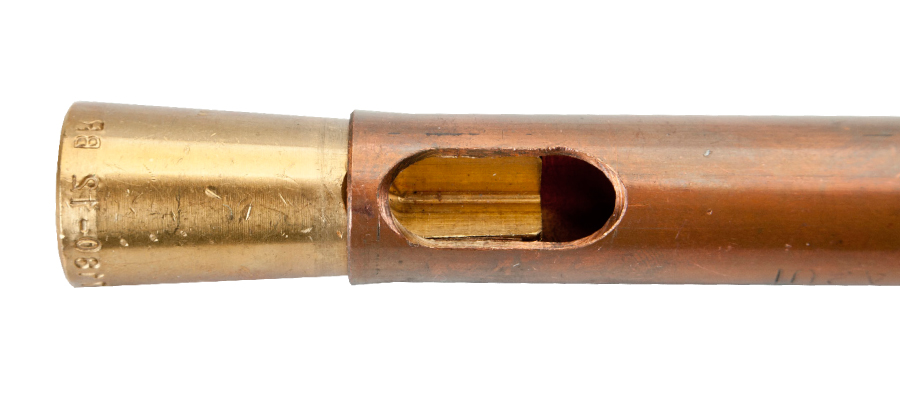
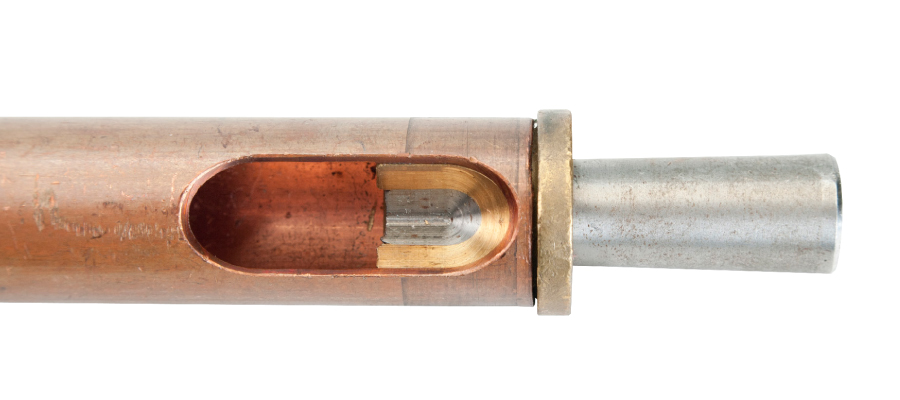
2nd Generation:
Ring & Pin
To help reduce the risk of cracking the tube sheet or splitting the tube, the ring & pin or two-piece tube plug was developed. This plug consists of a bushing (ring) that sits inside of the tube and a tapered plug (pin) that is hammered in through the bushing. By adding the secondary ring to the original tapered pin design, you are increasing the sealing area of the plug. This spreads the load out over a larger distance to help control the force exerted on the tube and tube sheet. As a result, the stress that is exerted on the tube sheet would be similar to that of rolling a tube. While this plug design is more secure than the tapered pin, there is still a risk of it dislodging from the tube as it is depending on the installer to hammer it in correctly.
3rd Generation:
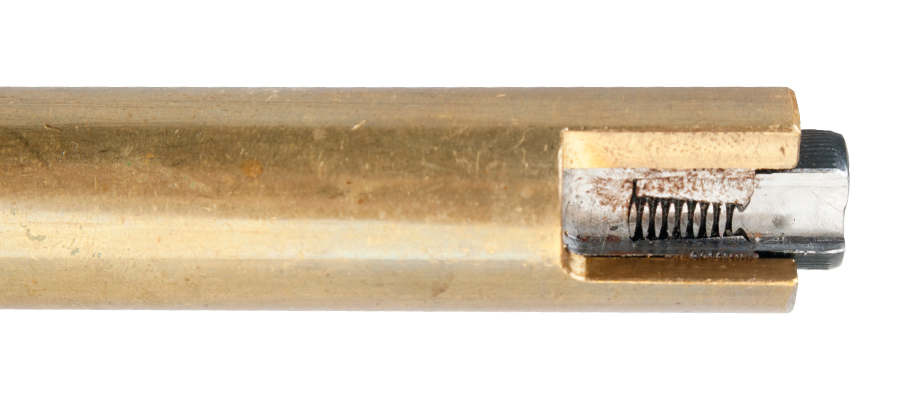
Mechanical Plug
Although the one and two piece plugs are good solutions for low-pressure vessels, they cannot exceed pressures of 150 PSI. Looking for a way to accommodate higher pressure requirements, the mechanical tube plug was developed. Modeled off of the earlier ring and pin design, the mechanical plug took the hat off of the bushing, rotated it, and added serrations to the exterior. The tapered pin was installed the opposite way with a drill and tap location on the end of the plug. In order for this plug to be installed correctly, extra hardware was required. Operators would insert the plug and use something called a plug positioner to hold it in place. Next, a threaded rod would be inserted into the plug end and pulled back using a hydraulic ram. This action would pull the pin through the ring, causing the ring to swell until it set the seal of the plug.
While the mechanical plug was highly regarded upon its invention, some issues quickly became apparent. First, it was very difficult to install it properly. Manufacturing tolerances, materials, and operator knowledge can all impact the quality of the seal produced. If not installed properly, the plug can become dislodged from the tube, which can pose safety concerns. This is because the plug creates two seals; one between the ring and pin, the other between the pin and the tube. If both of those seals are not set correctly, then issues will occur. Additionally, the initial mechanical plug design experienced some issues with galling between the ring and pin. Galling is a form of wear that is caused when two surfaces slide together under a large amount of force, removing material from the two pieces. As a result, later versions of the plug have additional grooves on the pin to help control the force when installed inside the tube.
4th Generation:
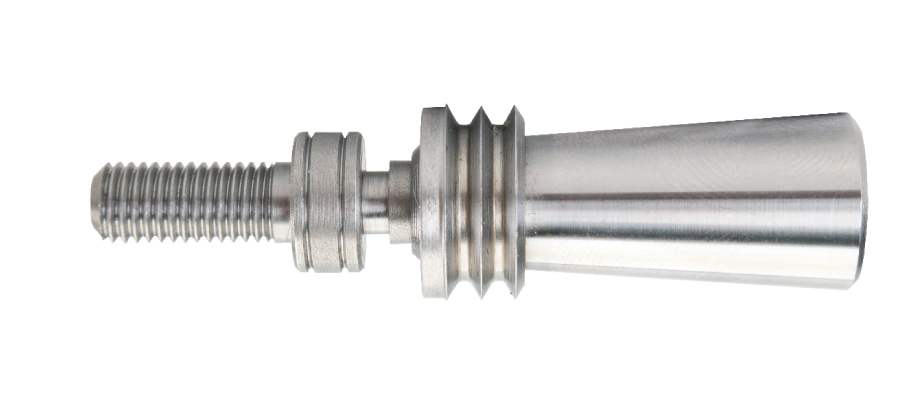
Torq N’ Seal Mechanical Plug
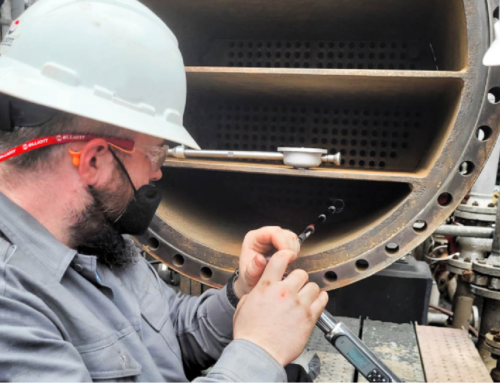
Despite the advantages of the mechanical plug, there were several challenges that needed to be addressed, resulting in the most recent evolution of the plug: The Torq N’ Seal mechanical tube plug. This plug consists of an eccentric wheel on the end of the plug with an internal taper, similar to a threaded swedge lock fitting. Inside of that is an expansion ferrule and a bolt that threads inside of a drive screw. As the bolt gets turned to a known torque, it compresses the ferrule into the tapered body of the plug causing it to expand and seal into the tube. One of the benefits of this design is that there is only one sealing surface, rather than two. This means that the force being exerted on the tube and tube sheet is similar to that of rolling a tube, preventing it from dislodging and eliminating excess force from hammering.
Compared to the earlier mechanical plug, the Torq N’ Seal plugs are much easier to install and remove. Since it does not require any hydraulic equipment, it is simple for operators to use in various field environments. Additionally, because it does not utilize a reverse taper, it is not susceptible to dislodging during operation or other maintenance work.
Overall, the tube plug has gone through several changes over the years. From the simple tapered pin to the more complex Torq N’ Seal plug, each plug was designed with a common goal: to achieve the maximum sealing area in a tube. While some may be better at this than others, each generation of plugs are still commonly used today. By understanding the features and operation of each plug, you can determine which one would work better in your application.