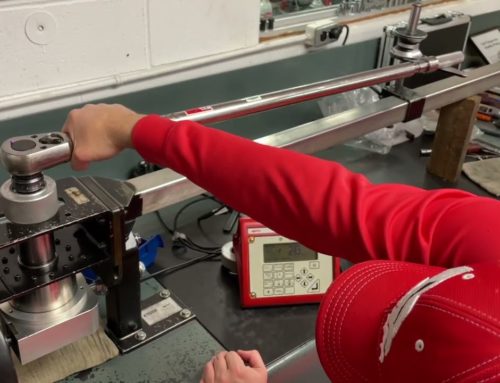
How To Calibrate A Tube Gauge
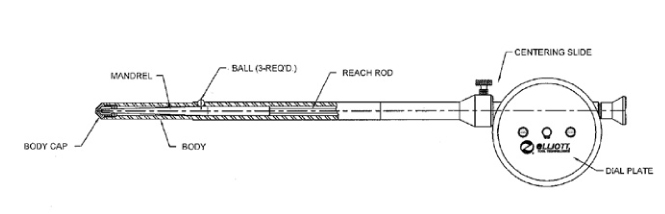
Provided in the Elliott Tube Gauge kit is a setting ring and wrench. Indicated on the setting ring is the proper calibration diameter for the gauge.
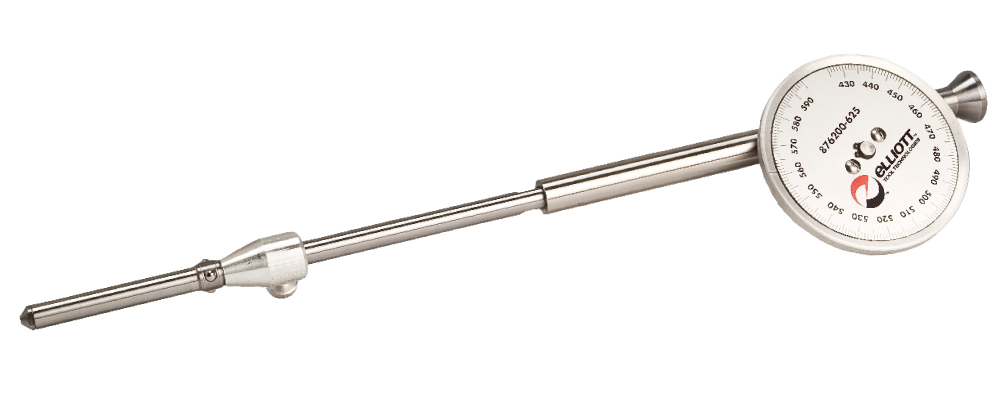
NOTE: The dial plate of the Tube Gauge is reversible, with Imperial measurements on one side and Metric measurements on the reverse.
- Move the centering slide up the Tube Gauge shaft just behind the three contact balls.
- Withdraw the mandrel by pulling back on the rack knob by the dial case.
- Place the setting ring over the three contact balls and against the centering slide.
- Allow the mandrel to pull itself back into position, being careful not to force the mandrel forward or to allow it to “snap back.”
On the dial case, toward the front of the Tube Gauge, is a scribe mark. If the dial does not read the correct setting (as indicated on the setting ring) follow these simple calibration steps:
- With the setting ring still in place, loosen (but do not remove) the two screws on the face of the Tube Gauge dial.
- Adjust the dial to the correct reading by rotating the dial either clockwise or counterclockwise until the proper setting on the dial aligns with the dial case scribe mark.
- While holding the dial in this position, tighten the two screws, making sure the setting does not change.
- The screw holes in the dial plate will allow approximately .003″ (.0762mm) adjustment at calibration. Should more adjustment be required than can be made using this method, the Tube Gauge must be returned to Elliott Tool Technologies for reconditioning and/or calibration.
For more information on Tube Gauges, please click here.