Mechanical Joining Tool Maintenance:
How to Extend Tool Life and Performance
Mechanical joining tools often have lower volume cycles but require a higher torque output. This makes them more susceptible to wear. Understanding how to identify wear and prevent it is the key to extending the life of your tool. This guide walks through mechanical joining tool maintenance best practices. Following these steps will protect your tooling and maintain joining performance over time.
Crucial First Step: Cleanliness and Lubrication
Tool wear rarely happens all at once. It builds gradually, often starting with debris accumulation. Proper lubrication is the primary method to prevent this.
Lubrication assists in two important ways:
- It creates a protective film between moving parts. This reduces the metal-on-metal friction that causes wear.
- It actively helps clean debris out of the tool mechanism during operation.
When lubrication isn’t an option due to process or application requirements, you’ll need an alternative cleaning method. Compressed air or alcohol can be used to remove residual debris and foreign particles.
Either way, the goal is the same: a clean tool is a longer-lasting tool.


Extreme pitting corrosion on metal

Blue discoloration on metal
How to Identify Wear Before It Becomes a Problem
Learning how to recognize early wear signs in your mechanical joining tool is crucial to preventing premature failure and maintaining joint quality. The sooner you catch it, the less damage and downtime you’ll deal with.
Look for these signs during every inspection:
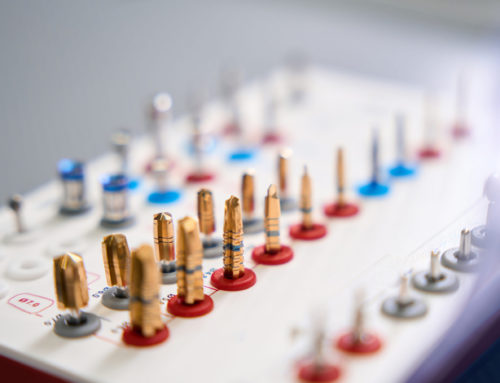
- Foreign material on the mandrel: Buildup of unwanted material or foreign particles on the mandrel is a clear sign of poor cleaning or wear.
- Pitting on working surfaces: Small craters or erosion marks on the rollers indicate localized material fatigue that will worsen without intervention.
- Blueing (discoloration): A color change in the tool steel signals that excessive heat and friction have been present, which weakens the material over time.
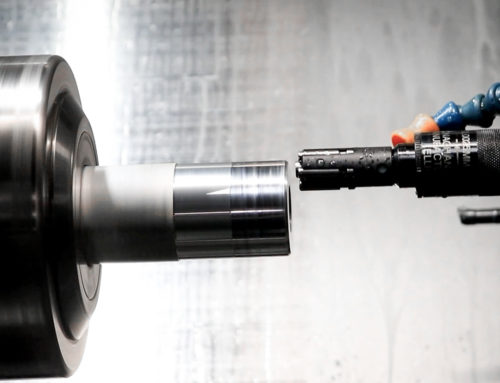
Beyond a visual inspection, performance metrics can also be used as indicators of wear. If the internal diameter (ID) of the joined component starts drifting from its target spec, or if the ID surface finish deteriorates, those are signs of wear on the rolls or mandrel.
Don’t wait for a complete failure. Address it when you first notice the drift.
What to do When You Find Wear
When any of these visual signs are identified, consumables should be replaced. One important practice to follow is to replace the entire roll set when wear is seen on just one roll. Mismatched wear levels across a roll set create uneven pressure during joining. This can compromise joint quality and accelerate further damage to the remaining rolls.
Importance of Pre-Production Inspections
Before any tool goes into production, especially one that has been stored or used previously, it should be inspected. Tools can develop latent issues from previous use, improper packaging, or prolonged storage. These issues may not be obvious until the tool is under load.
A pre-production inspection doesn’t need to be lengthy. Check for visible wear, confirm the tool is clean, verify lubrication, and look for anything that seems off. Those few minutes of attention can prevent scrapped components and costly production delays.
Putting It All Together
Good mechanical joining tool maintenance isn’t complicated, but it does require consistency. Lubricate and clean after every use. Inspect regularly and know what you’re looking for. Replace rolls as a set, not individuals. And never assume a tool is production-ready just because it’s available.
Each of these steps reinforces the others. Together, they add up to longer tool life, fewer unexpected failures, and more reliable joint quality across every application.